| Character | Player | Class/Subclass | Race | Notable Actions |
|---|---|---|---|---|
| Eirlys “Eyeless” Shadowstep | Justin / Slitzer | Paladin | Aasimar | Carried Dren through shoulder-high sewage; pursued fleeing kenku; impaled one kenku with a heavy bolt; saved the hostage child in the tower by striking down the kenku; recovered the Stone; calmed/treated the kids afterward (including healing) and paid them to watch/report on the building; threw the Stone to Slim Jim during the ambush before being downed. |
| Captain John Mercer | Kenneth / Artemis | Rogue | Human | Pursued the fleeing kenku; in the hostage standoff, threw a pile of coins to distract the kenku; threw multiple knives during the tower fights (several lost out a window). |
| Dren | MichaelKong / Mike | Fighter | Mountain Dwarf | Was carried through the sewers by Eyeless; later downed when the intellect devourer jumped to him; had intelligence restored at the temples. |
| Slim Jim (Tiberius Argent) | Robb / BaconBuff | Rogue / Artificer | Human | Discovered the cabinet mimic; extracted an amulet from its mouth (hand stuck, skin cut to free it, then eventually succeeded); caught the Stone on the balcony and escaped across rooftops during the ambush to keep it away from the attackers. |
| Silas “Silver Tongue” Rushtyn | James / Sicareus | Sorcerer | Yuan-ti Pureblood | Used an ice/frozen spell in the underground fight (exact spell not stated); talked the cabinet mimic back into cabinet form; went to warn the Harpers about the captured necromancer, was ambushed outside, and then attacked the party during the alley fight; went invisible during the chaos. |
| Item | Finder | Description / Status |
|---|---|---|
| Stone of Golorr [](https://bookstack.thecartwrights.nz/uploads/images/gallery/2026-02/NBgimage.png) | Eirlys “Eyeless” Shadowstep (recovered) → Slim Jim (secured during ambush) | Recovered from the hostage-taking kenku in the derelict tower; later thrown to Slim Jim during the alley ambush; Slim Jim escaped across rooftops with it. Returned to Trollskull with the party. Final holder at session end: **Not stated** . |
| **Amulet (unidentified)** [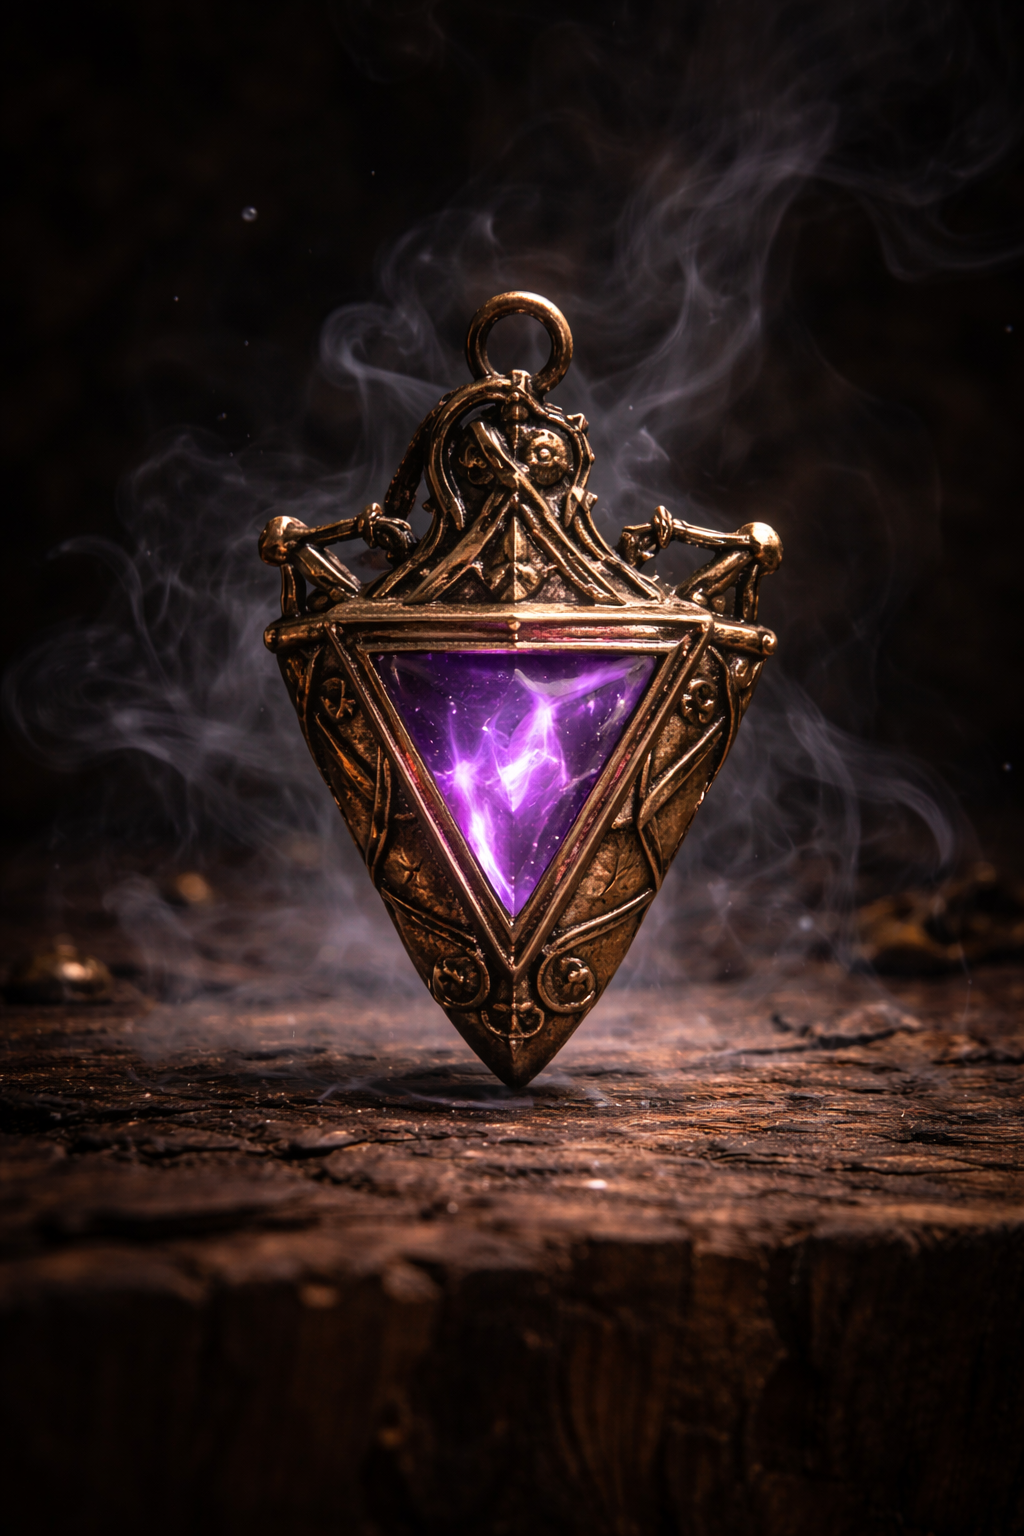](https://bookstack.thecartwrights.nz/uploads/images/gallery/2026-02/NEfimage.png) | Slim Jim (Tiberius Argent) | Seen in the cabinet mimic’s mouth; retrieval caused severe hand injury (hand stuck; skin cut to free it) before eventual success. Identification/attunement: **Unknown / Not stated** . |
| *Arcane transport circle (site discovery)* [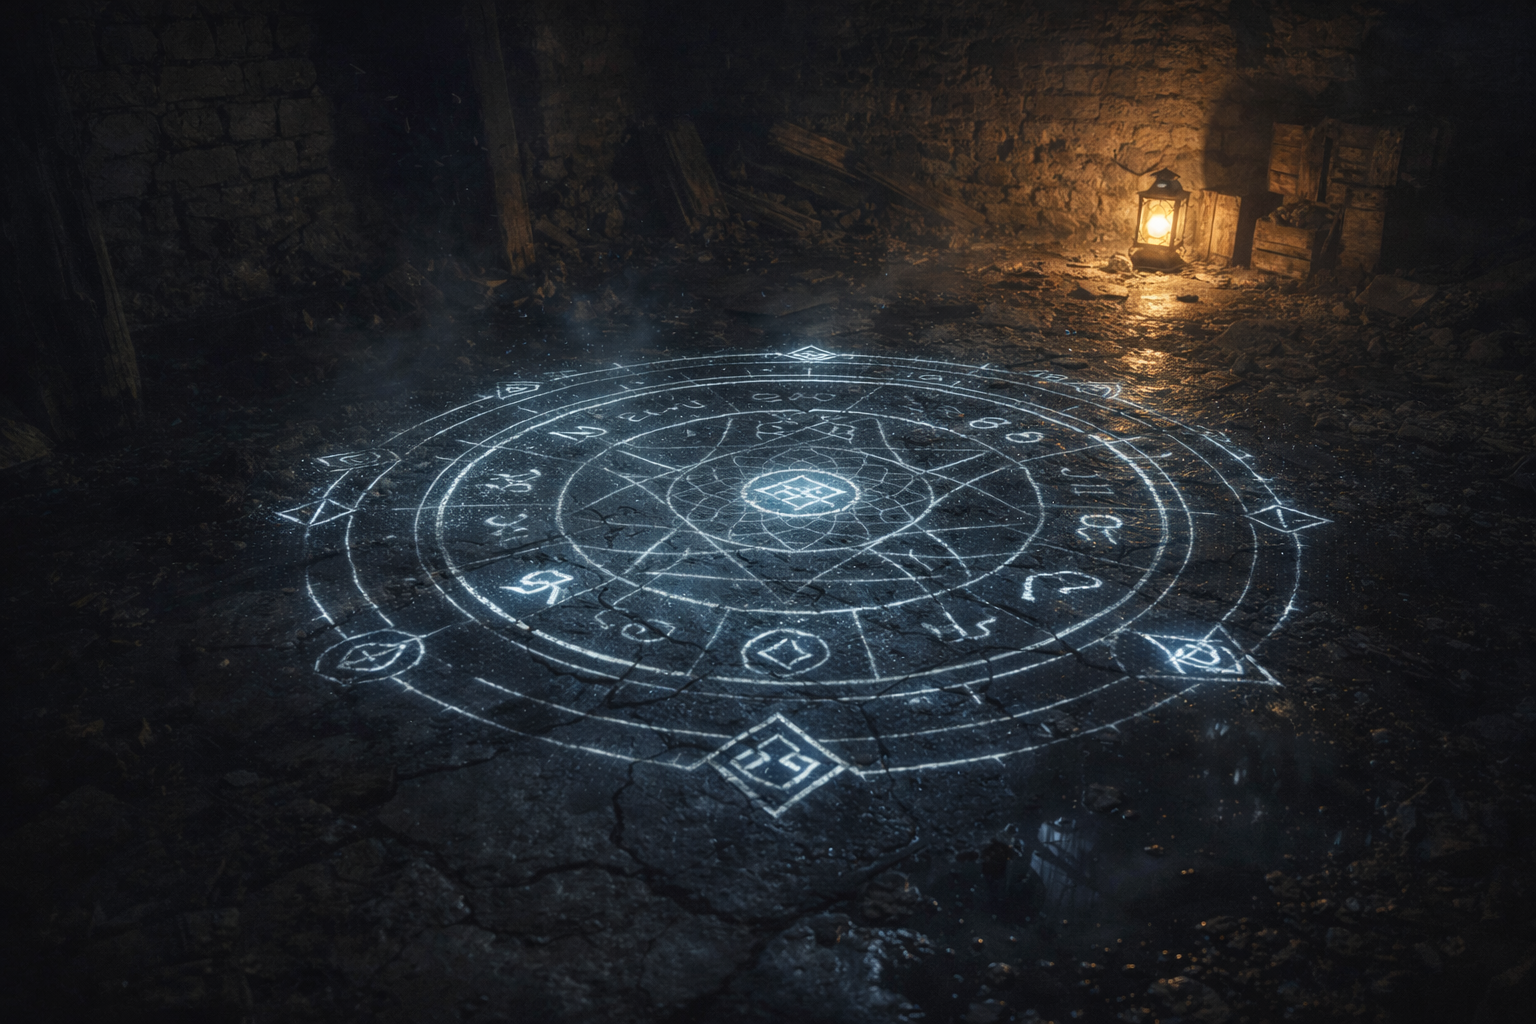](https://bookstack.thecartwrights.nz/uploads/images/gallery/2026-02/Jrtimage.png) | Party | Found in the tower basement; purpose/destination not stated. |
| Vault of Dragons intel (from dream via Stone) | Party | Vault location revealed via dream; guarded by gold dragon **Oranx** ; requires three keys (listed above). |